Since I created the character of Karl, I’ve had a very clear image in my head of him with a notebook. I always imagine him taking notes and sketching everything he observes on his walks. Sometimes, he invents songs or starts stories, creating characters with animals and plants he finds in the forest.
You’ll understand that someone like that can’t leave home without a good notebook and an assortment of pencils. And, since I know you’re a bit like Karl too, I’ve decided to solve this issue by preparing this tutorial for you to build your own nature journals.
Desde que creé el personaje de Karl he tenido una imagen muy clara en mi cabeza de él con un cuaderno. Lo imagino siempre tomando notas y haciendo bocetos de todo aquello que observa en sus paseos. A veces inventa canciones o principios de historias creando personajes con animales y plantas que encuentra en el bosque.
Comprenderás que alguien así no puede salir de casa sin un buen cuaderno y un surtido de lápices. Y, como yo sé que tú también eres un poquito como Karl, he decidido poner solución a este asunto preparándote este tutorial para construir tus propios cuadernos de naturaleza.
Making your own notebooks seems to me to reach a higher level in DIY, especially if we can do it by reusing things we have at home. I’m attracted to the idea of making the notebook myself, which I will later fill with drawings and ideas, in turn creating other things. It’s like a chain, a vicious circle of creation.
I had been wanting to try this new technique for a while, especially since I’m passionate about notebooks, journaling, lists, sketches, and writing in general. But, as usual, a thousand excuses got in the way, and I never managed to start.
Finally, thanks to Karl, I’ve managed to step out of my comfort zone, put down the crochet hook, and pick up the cutter. I’ve opted for this system as it seemed the simplest way to start familiarizing ourselves with the technique. Of course, there are many more options, both in terms of sewing and finishes, but we’ll leave that for later. Let’s start by playing with the easiest.
Fabricar tus propios cuadernos me parece alcanzar un nivel superior en el DIY. Más aún si conseguimos hacerlo reutilizando cosas que tengamos por casa. Me atrae la idea de fabricar yo misma la libreta que luego voy a llenar con dibujos e ideas para, a su vez, fabricar otras cosas. Es como una cadena, un círculo vicioso de creación.
Llevaba tiempo queriendo lanzarme a probar esta nueva técnica ya que, además soy una apasionada de los cuadernos, el journaling, las listas, los bocetos y la escritura en general. Pero, como de costumbre, miles de excusas se interponían en el camino y nunca conseguía arrancar.
Finalmente, gracias a Karl, he conseguido salir de mi zona de confort, aparcar el ganchillo y agarrar el cutter. Me he decidido por este sistema ya que me ha parecido el más sencillo para empezar a familiarizarnos con la técnica. Por supuesto hay muchas más opciones, tanto de cosido como de acabados, pero lo dejaremos para más adelante. Vamos a empezar a jugar por lo más fácil.
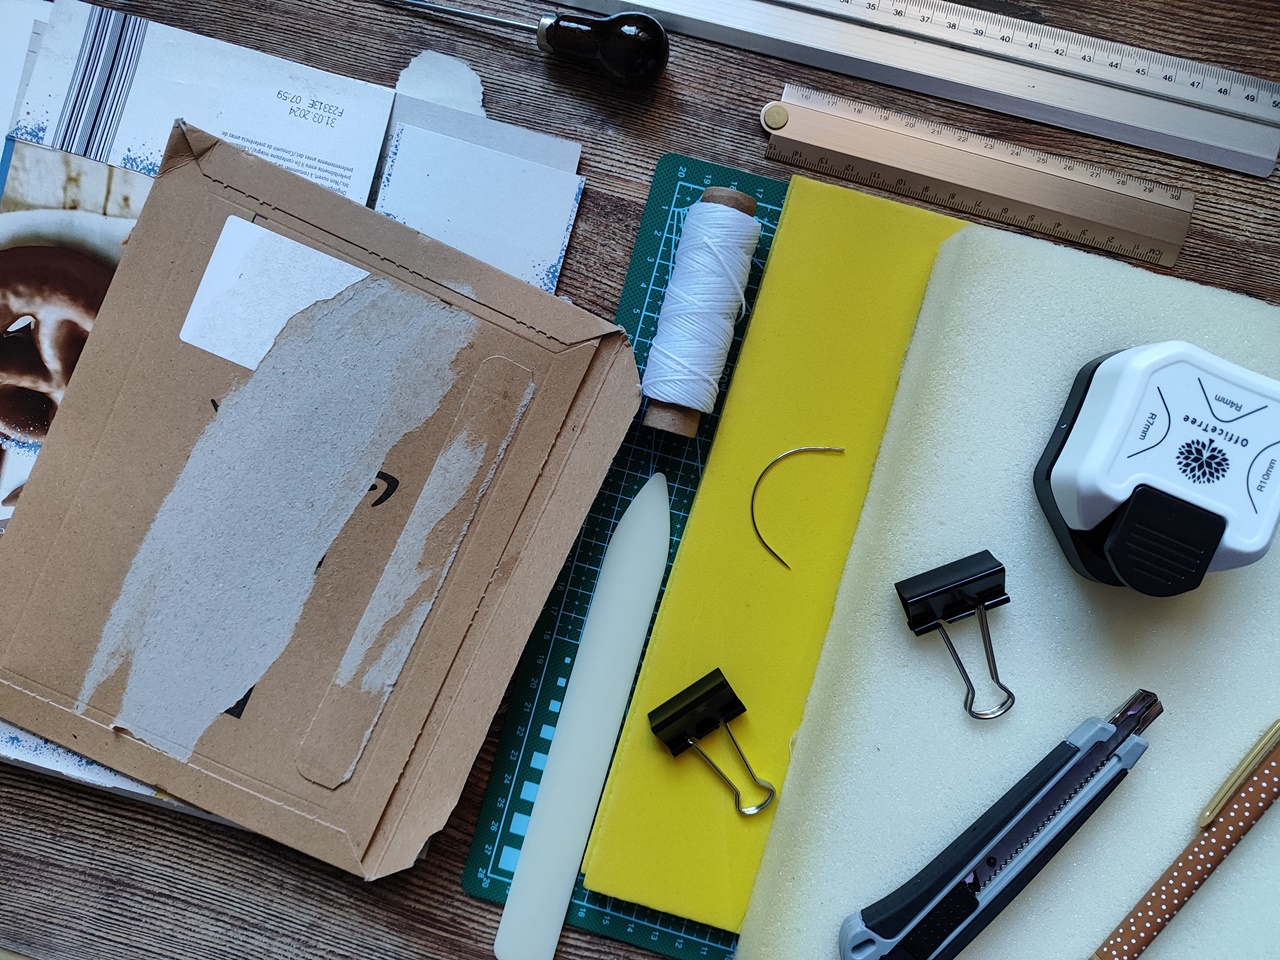
MATERIALS
- Cardboard from a cereal box or similar.
- Papers, sheets
- Waxed thread or, alternatively, some strong synthetic yarn that doesn’t break easily.
- Needle suitable for the chosen thread.
- Cutter
- Metal ruler
- Cutting mat
- Punch or some tool for punching holes
- Foldable clips
- Foam or some surface to pierce and pin.
MATERIALES
- Cartón de alguna caja de cereales o similar.
- Papeles, folios
- Hilo encerado o en su defecto algún hilado sintético resistente que no se rompa fácilmente.
- Aguja adecuada para el hilo elegido.
- Cutter
- Regla metálica
- Tabla de corte
- Punzón o algún instrumento para agujerear
- Pinzas abatibles
- Goma EVA o alguna superficie sobre la que poder agujerear y pinchar.
- Troquel para redondear esquinas (opcional)
MEASURES
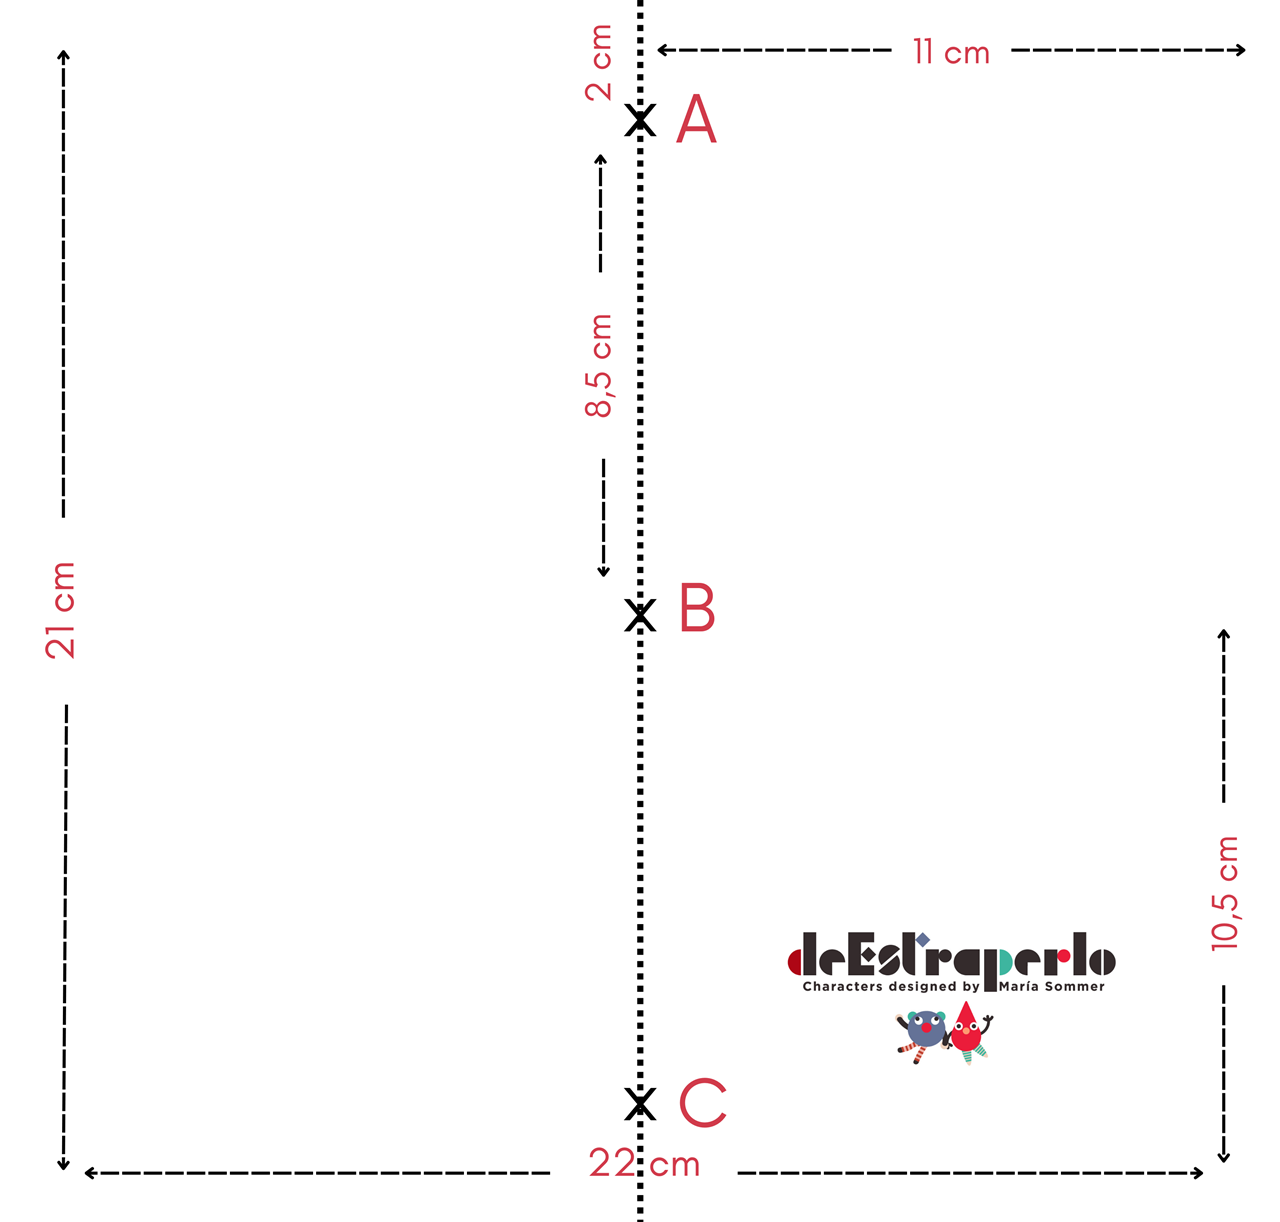
Before we start making our notebook, we need to be clear about the measurements. You can apply this binding system to any size, but the ones I’m giving you are for the classic Travelers Notebook. This is a format we’ll work with more often, so I recommend applying these measurements from the beginning to be able to combine other projects we’ll be doing later.
Cut cardboard to 22 cm x 21 cm and mark the following measurements. Points A, B, and C mark the holes through which we’ll sew our notebook. Point B is in the middle, i.e., at 10.5 cm, and points A and C are 2 cm from the margin. This will be your template from now on for all the notebooks you want to make.
MEDIDAS
Lo primero que tenemos que tener claro antes de empezar a elaborar nuestro cuaderno son las medidas. Puedes aplicar este sistema de encuadernación a cualquier medida, pero las que yo te voy a dar son las standard del clásico Travelers Notebook. Es un formato sobre el que trabajaremos más veces, por lo que te recomiendo que apliques estas medidas desde el principio para luego poder combinar el resto de proyectos que vayamos realizando.
Recorta un cartón de 22 cm x 21 cm y marca en él las siguientes medidas. Los puntos A, B y C marcan los agujeros por los que coseremos nuestro cuaderno. El punto B está a la mitad, es decir a 10, 5 cm, y los puntos A y C están a 2 cm del margen. Esta será tu plantilla a partir de ahora para todos los cuadernos que quieras realizar.
CUTTING THE COVER AND PAGES
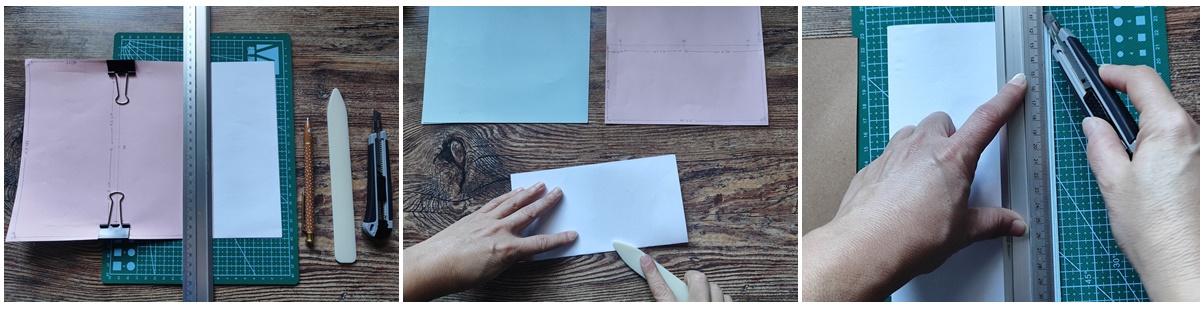
For the cover, simply draw a square of 22 x 21 cm on the cereal cardboard and cut it out with the cutter or scissors. Mark points A, B, and C, and fold it in half lengthwise. You can use a bone folder or any other tool at your disposal.
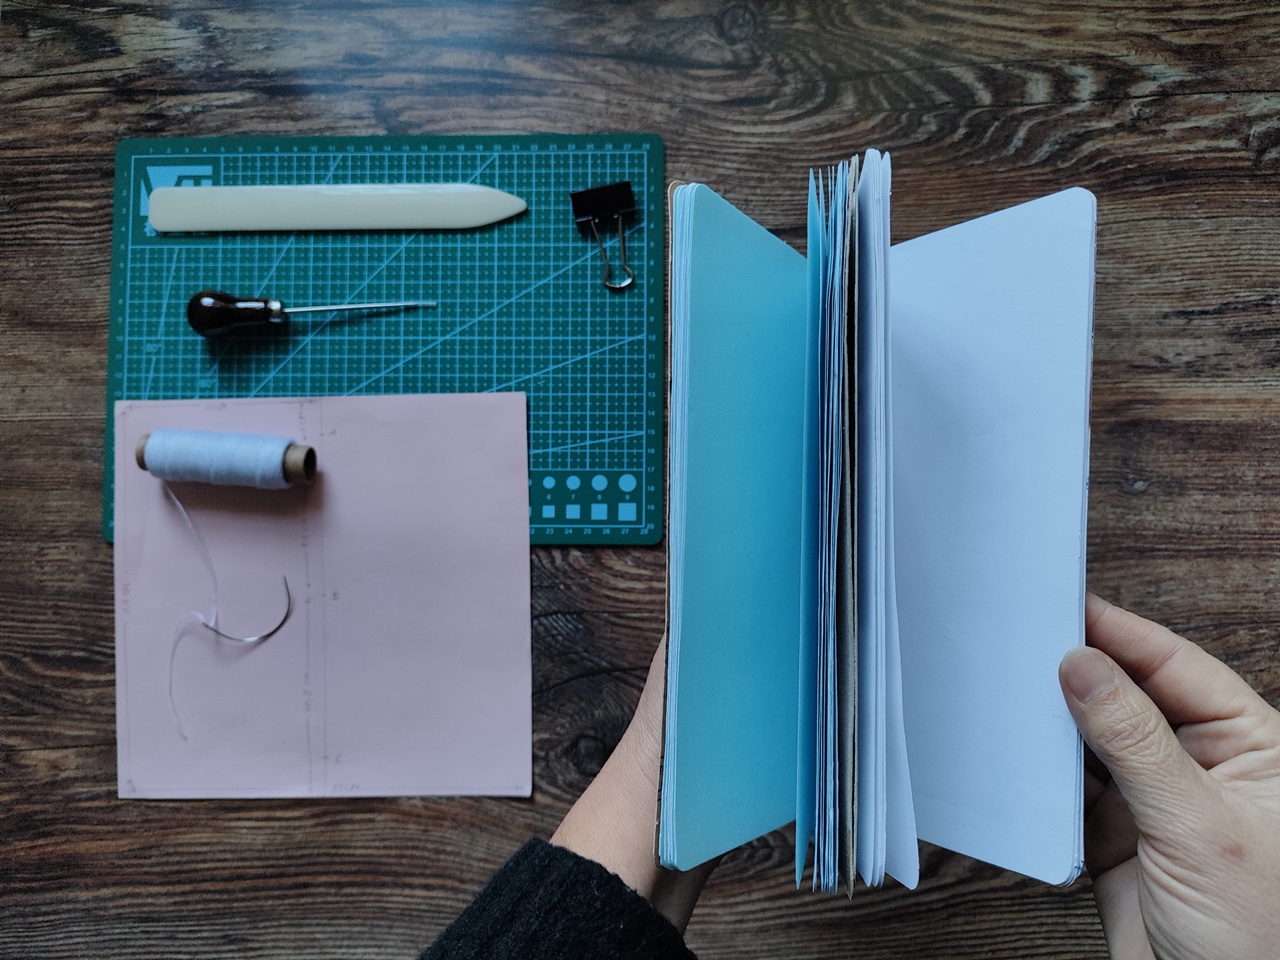
Next, cut 12 sheets of paper and fold them in half lengthwise. I recommend doing this one by one for a better finish. Stack them all together, inserting one into the other. You’ll notice that they don’t all line up, so you’ll have to even out the edge with the cutter and metal ruler. Be careful; there’s no rush.
CORTAR LA PORTADA Y LAS HOJAS
Para la portada, simplemente traza un cuadrado de 22 x 21 cm en el cartón de cereales y recórtalo con el cutter o tijeras. Marca los puntos A, B y C y dóblalo por la mitad a lo largo. Puedes ayudarte de la plegadera o cualquier otro instrumento que tengas al alcance.
A continuación, recorta 12 folios y dóblalos también por la mitad a lo largo. Te recomiendo que lo hagas uno a uno para un mejor acabado. Júntalos todos, metiendo uno dentro de otro. Observarás que no quedan todos al nivel, por lo que tendrás que igualar el filo con el cutter y la regla metálica. Con cuidado, no hay prisa.
MARKING AND SEWING
Once you have all the sheets evened out, fit them into your cover and, opening them, secure them with the foldable clips. Now is the time to mark the holes with the punch.
Place the notebook on the foam and punch at point A carefully until you’re sure you’ve pierced all the sheets. Then, do the same at points B and C.
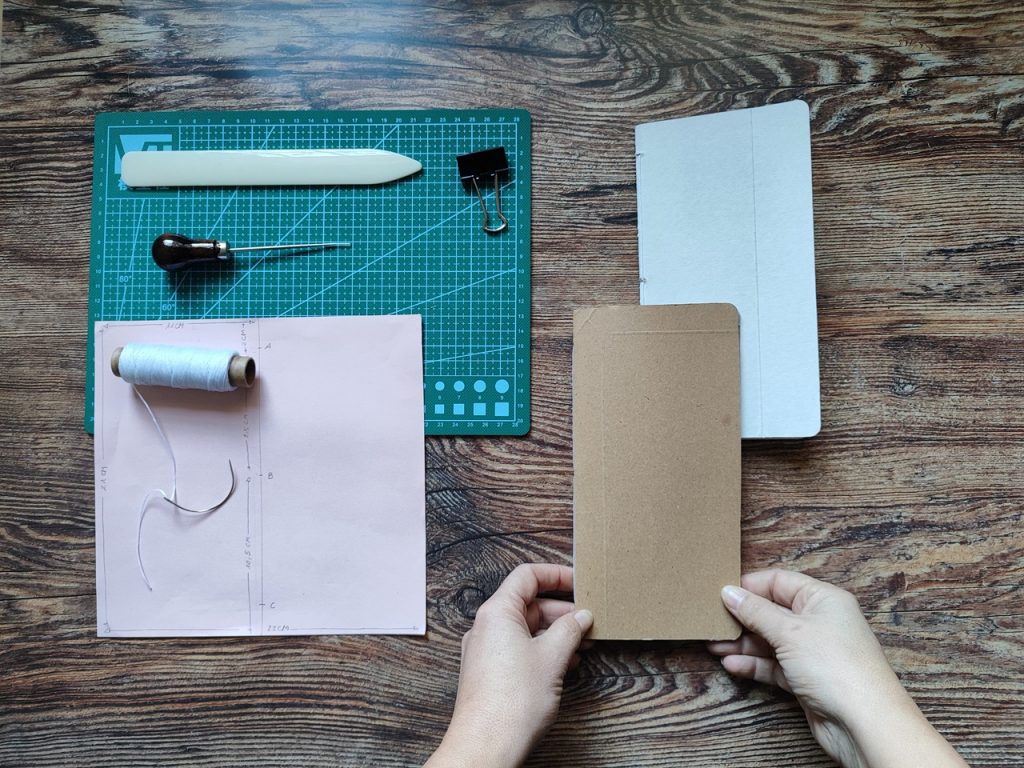
The next step is to sew the pages, and the first thing we’ll do is cut the length of the thread we need. The measurement in this case is two and a half times the length of the notebook (52.5 cm).
You can also round the corners if you have a special punch for it. It’s not necessary at all, but it offers a more «professional» finish.
MARCAR Y COSER
Una vez tenemos todas las hojas igualadas, las encajamos con nuestra portada y, abriéndolas, las fijamos con las pinzas abatibles. Es el momento de marcar los agujeros con el punzón.
Para ello colocaremos el cuaderno sobre la goma EVA y pincharemos en el punto A con cuidado hasta asegurarnos de haber perforado todas las hojas. Después., haremos lo mismo en el punto B y el C.
El siguiente paso será coser las páginas y lo primero que haremos será cortar el largo de hilo que necesitamos. La medida en este caso es dos veces y media el largo del cuaderno. (52,5 cm)
También puedes redondear las puntas, si tienes algún tipo de troqueladora especial para ello. No es necesario en absoluto, pero ofrece un acabado más «profesional».
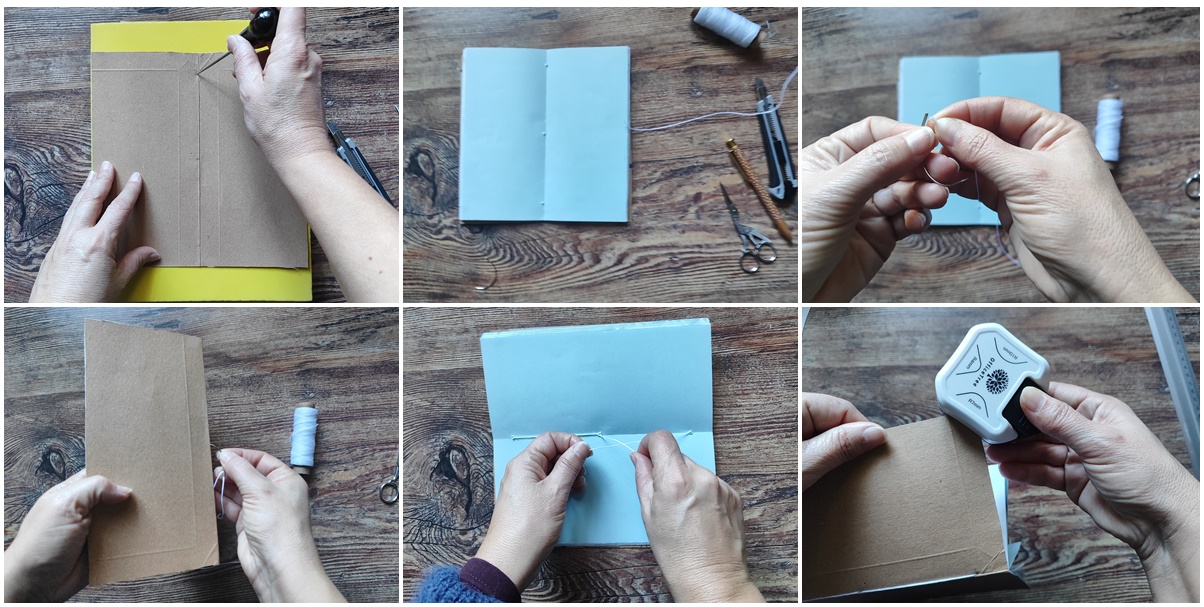
To sew the pages, follow this scheme:
- Pass the needle through point B from inside the notebook to the outside, leaving about a 10 cm thread inside, which we’ll use to tie a knot later.
- Pass the needle through point C from outside to inside.
- Pass the needle through point B from inside to outside.
- Pass the needle through point A from outside to inside.
- Tie the two thread ends, matching the knot in the center, i.e., at point B. Cut the threads flush with the knot. (Make sure the knot is tight first.)
Para coser las páginas, seguiremos el siguiente esquema:
- Pasar la aguja por el punto B, desde dentro del cuaderno hacia fuera, dejando por dentro un cabo del hilo encerado de unos 10 cm, que luego usaremos para anudar.
- Pasar la aguja por el punto C, de fuera hacia dentro.
- Pasar la aguja por el punto B, de dentro hacia fuera.
- Pasar la aguja por el punto A, de fuera hacia dentro.
- Anudar los dos cabos del hilo haciendo coincidir el nudo en el centro, es decir, en el punto B. Cortar los cabos a ras del nudo. (Asegúrate primero de que el nudo está bien fuerte.)
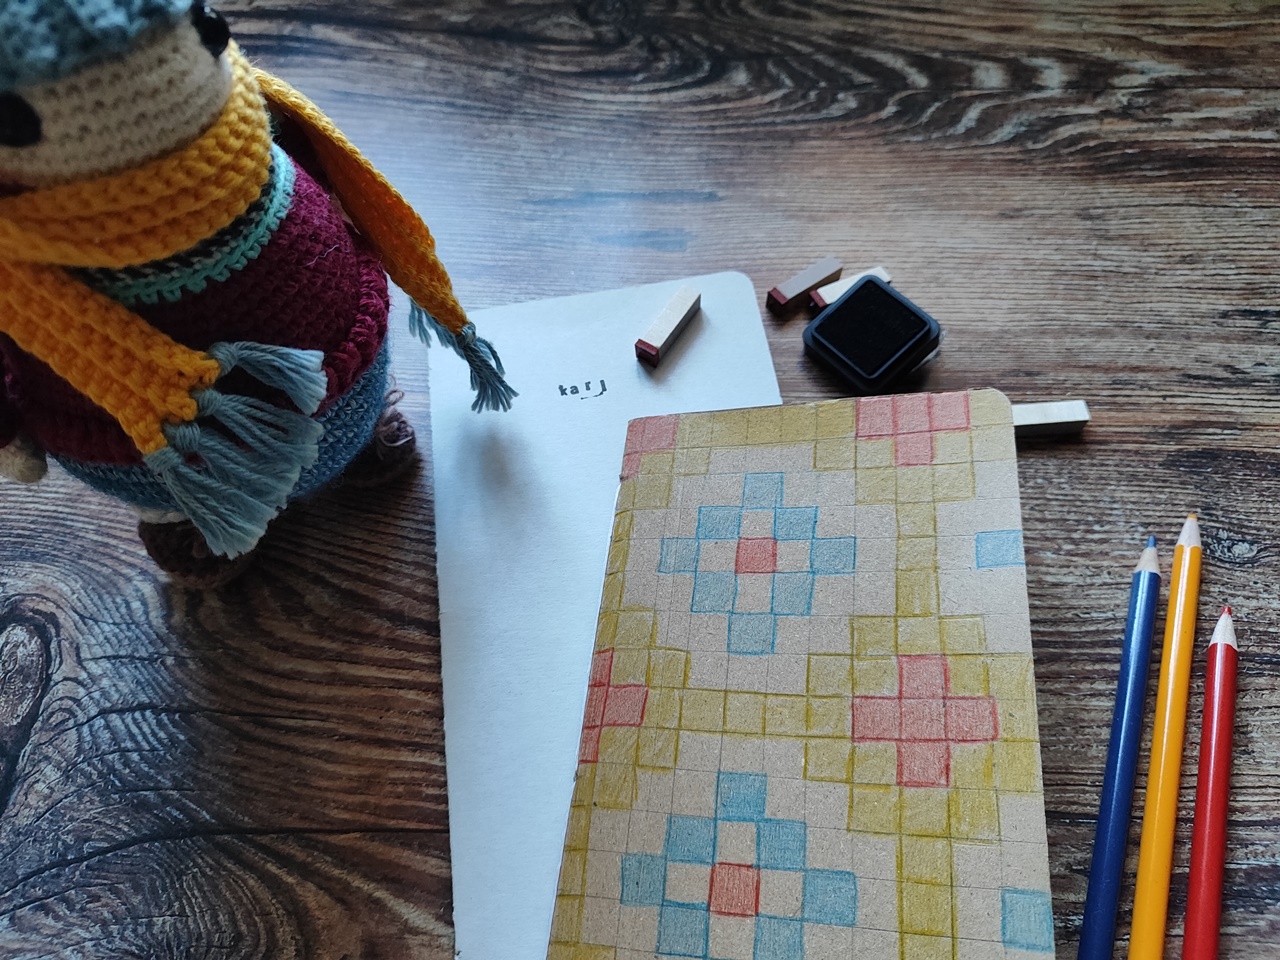
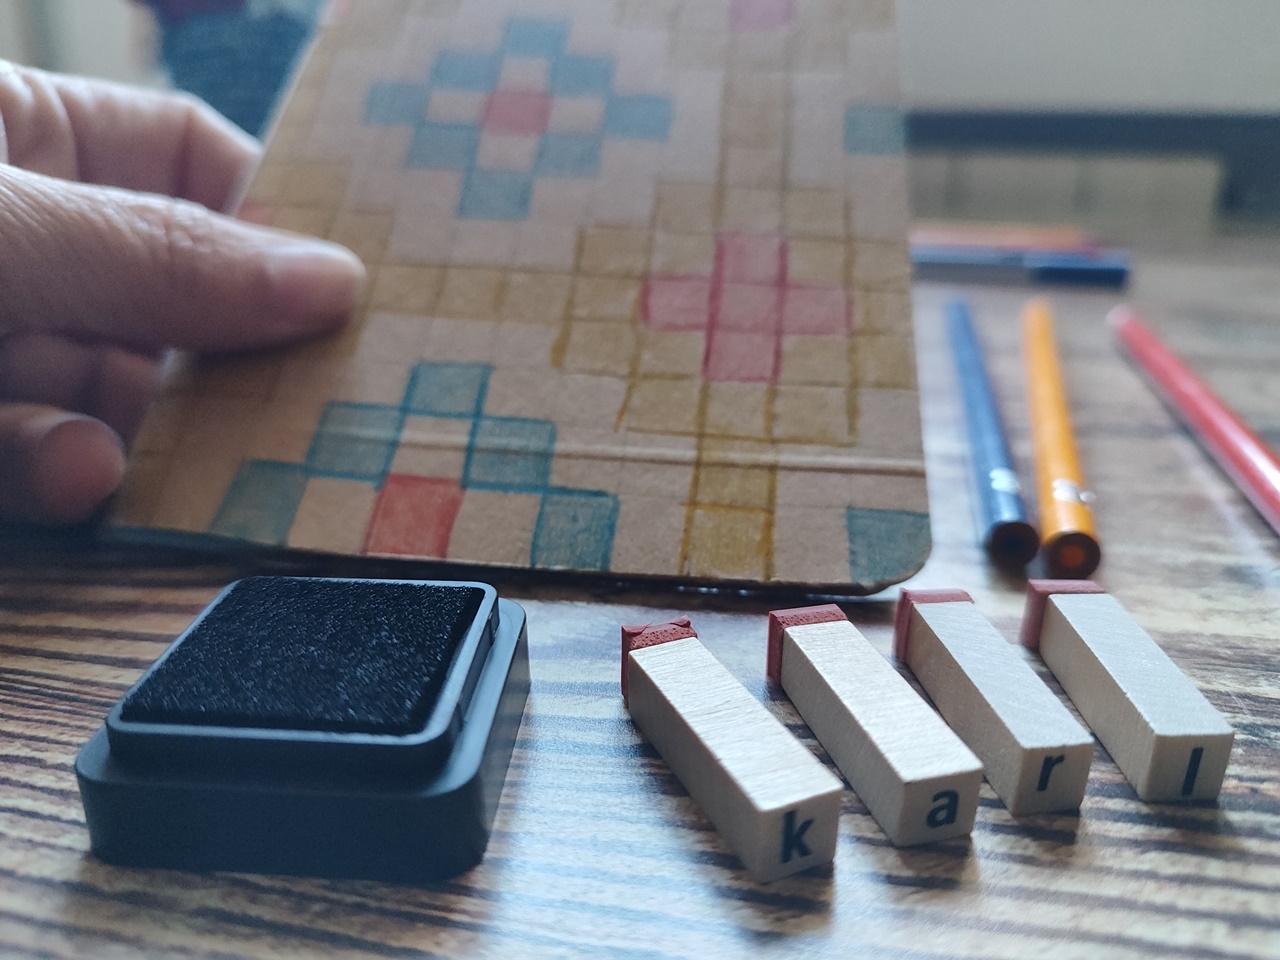
Once your notebook is ready, you can proceed to decorate the cover using any technique you like. You can draw, cover it with fabrics, make a collage, embroider, write, paint…
In the next The Estraperlist, we’ll do a special exercise to decorate it, taking advantage of the work we’ve been doing these past few weeks. Don’t miss it; subscribe here.
I’ve chosen to grid it and draw these borders that I think I’ll later complete with some embroidery.
Una vez tienes tu cuaderno listo, puedes proceder a decorar la portada, usando cualquier técnica que te apetezca. Puedes dibujar, forrarlo con telas, hacer un collage, bordarlo, escribirlo, pintarlo…
En la próxima La Estraperlista haremos un ejercicio especial para decorarlo, aprovechando el trabajo que hemos estado haciendo estas semanas pasadas. No te lo pierdas, suscríbete aquí.
Yo he optado por cuadricularlo y dibujar estas cenefas que más tarde creo que completaré con unos bordados.
Completing this activity has been a challenge. I was eager to do it, although on the other hand, it meant stepping out of my comfort zone, away from my yarn and needles, and that always offers a bit of resistance. And that’s why this exercise has been so important.
Once I’ve done it, I’ve found how incredibly easy it is, and I’ve felt fully satisfied and proud. I’m eager to move on to the next step and learn more about bookbinding and Traveler Notebooks. I hope you’ll join me on this adventure because together, we’ll have a much better time.
Realizar esta actividad ha supuesto un reto. Tenía muchísimas ganas de hacerlo, aunque por otro lado suponía salir de mi zona de confort, de mis lanas y mis agujas, y eso siempre ofrece un poco de resistencia. Y por eso mismo ha sido tan importante realizar este ejercicio.
Una vez lo he hecho, he comprobado lo facilísimo que es y me he sentido plenamente satisfecha y orgullosa. Con ganas de pasar al siguiente paso y aprender más sobre encuadernación y Traveler Notebooks. Espero que me acompañes en esta aventura porque juntas lo pasaremos mucho mejor.