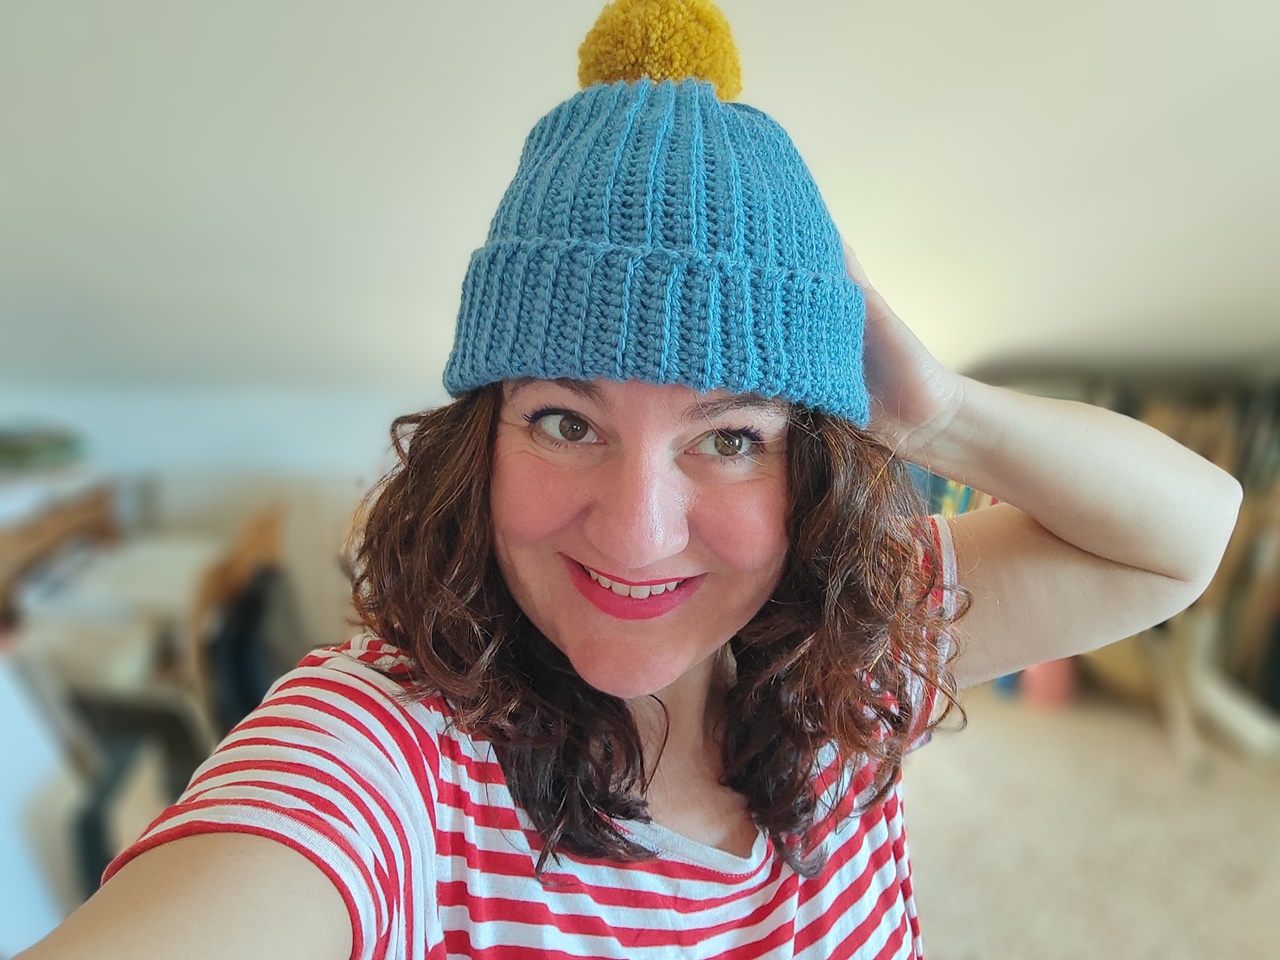
Karl’s hat taught me a great lesson, and today I’d like to share it with you.
He would talk about his hat constantly, and when he did, his expression would light up. This led me to create an idea of a wonderful hat, full of drawings, colors, ancestral techniques, and majestic yarns. However, when he showed it to me, I found a rather simple hat, with no special design and very basic techniques.
The hat was nice, but I couldn’t help but feel slightly disappointed by the false idea I had created in my head. Big mistake on my part. He had never said all that about his hat; I had misunderstood him.
El gorro de Karl me enseñó una gran lección y hoy me gustaría compartirla contigo.
Él hablaba de su gorro constantemente y cuando lo hacía se le iluminaba la expresión. Esto me hizo crearme una idea de un gorro maravilloso, lleno de dibujos, colores, técnicas ancestrales e hilados majestuosos. Sin embargo, cuando me lo enseñó, me encontré con un gorro bastante simple, de diseño nada especial y técnicas de lo más básicas.
El gorro era bonito, pero no pude evitar sentirme ligeramente decepcionada por la falsa idea que me había creado en mi cabeza. Gran error por mi parte. Él nunca había dicho todo eso de su gorro, yo lo había malinterpretado.
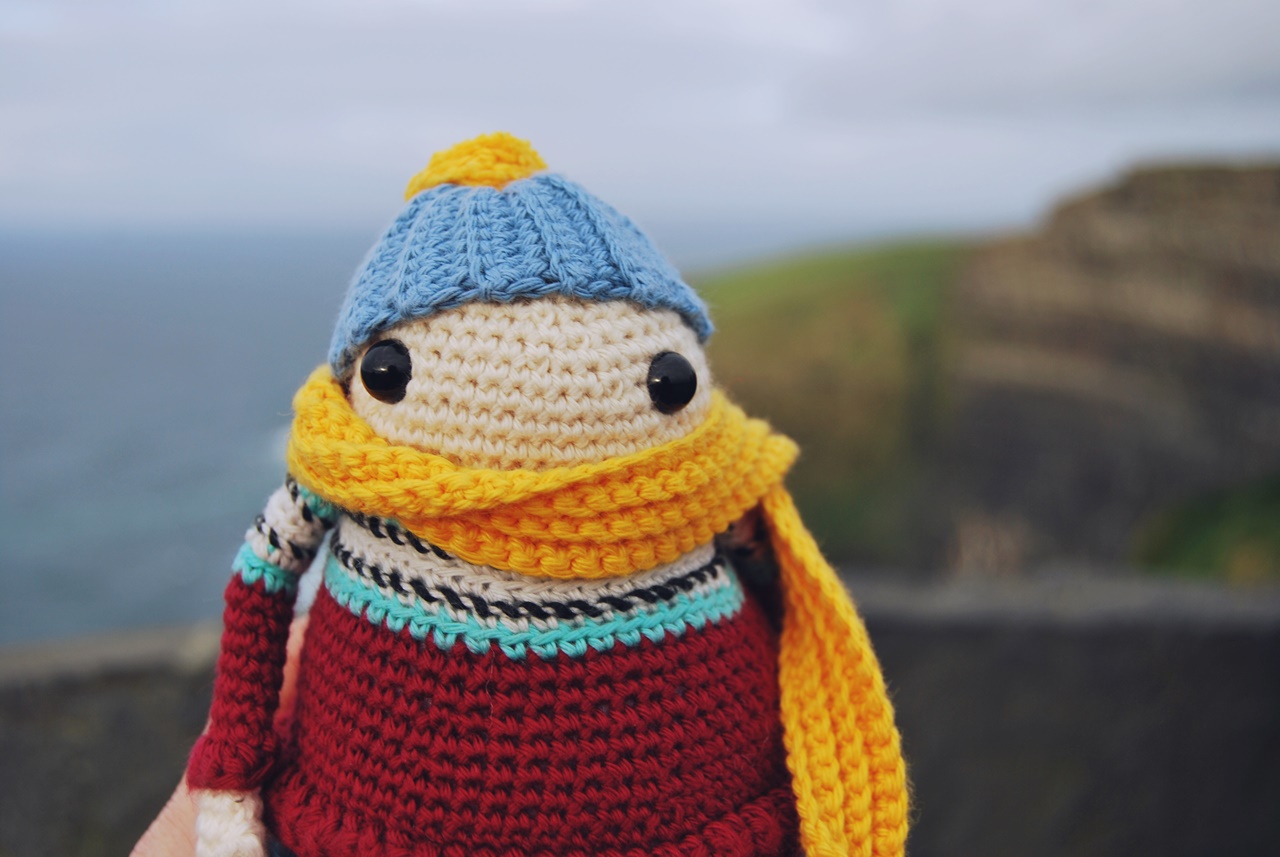
I think he noticed because when he saw my reaction, he started explaining all the stories he had experienced with that hat on. Multiple adventures in which, in one way or another, his hat always participated. That’s why, every time he puts it on, he knows that a new adventure is about to begin.
And this is the lesson that life reminds me of again. It’s not about how complicated and majestic the project is, but about how you’re going to use it and how willing you are to enjoy it and make it special.
That’s why I’ve decided to share the pattern with you, so that you too can create an adventure-generating hat that will accompany you for many years, and even that you can give to someone who deserves it at some point.
Creo que me lo notó porque al ver mi reacción empezó a explicarme todas las historias que había vivido con ese gorro puesto. Múltiples aventuras en las que de una forma u otra su gorro siempre participaba. Por eso, cada vez que se lo pone, sabe que una nueva aventura está por llegar.
Y esta es la lección que, de nuevo la vida me recuerda. No se trata de lo complicado y majestuoso que sea el proyecto, si no del uso que vas a hacer de él y lo dispuesta que estés a disfrutarlo y convertirlo en especial.
Por eso he decidido compartir el patrón contigo, y que tú también crees un gorro generador de aventuras que te acompañe muchos años e incluso que en algún momento puedas regalar a alguien que selo merezca.
Continuing with the technique we’re working on with Karl Toffeln, the hat is crocheted in single crochet stitches through the back loop only (BLO), in rows back and forth. It’s a traditional technique to create the ribbing stitch that you often find in cuffs, collars, or socks, for example. I like to use it because of the great texture it offers, while being fundamentally simple.
This pattern is a lifelong resource because this style of hat never goes out of fashion. By applying different variations, which I’ll show you at the end of the article, you’ll get multiple hat results, even making them look like different designs.
Keep it close in your pattern library because you’ll get a lot of use out of it.
Siguiendo con la técnica que estamos trabajando con Karl Toffeln, el gorro está tejido en punto bajo cogido por la hebra de atrás (BLO), en filas de ida y vuelta. Es una técnica tradicional para crear el punto elástico que encontrarás a menudo en puños, cuellos o calcetines, por ejemplo. Me gusta usarla por la gran textura que ofrece, siendo en el fondo tan sencilla.
Este patrón es un recurso para toda la vida, ya que este estilo de gorro no pasa de moda. Aplicando diferentes variaciones, que te enseño al final del artículo, obtendrás múltiples resultados de gorro, haciendo incluso que parezcan diseños diferentes.
Mantenlo siempre cerca en tu biblioteca de patrones de cabecera porque le sacarás mucho partido.
STITCHES AND TECHNIQUES
ch – chain
BLO – back loop only
sc – single crochet
MATERIALS
- 100g (240m) // 3.5 ounces (262 yards) Sport weight yarn in blue. (I used less than 1 skein of Katia Merino Classic in color 33)
- 50g (120m) // 1.75 ounces (131 yards) Sport weight yarn in yellow for the tassels. (I used a bit of Katia Merino Classic in color 41)
- 5.5mm // I // 9 crochet hook
INSTRUCTIONS
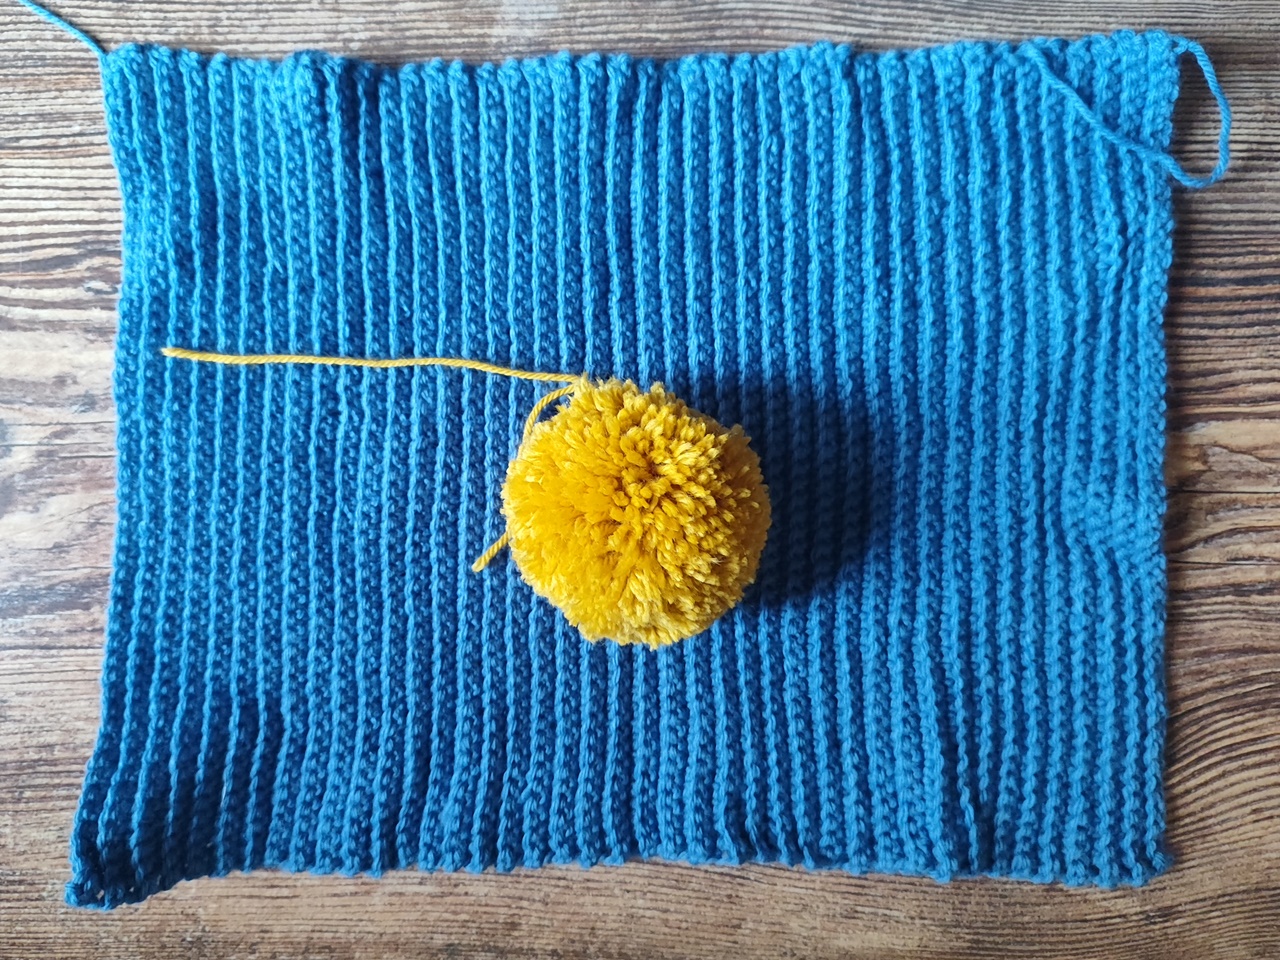
01. With blue yarn and the 5.5mm hook, crochet 51 ch (or as many as needed to obtain a length of 28 cm).
02. 50 sc
03 to 84. 1 ch, 50 sc in BLO (or enough rows to obtain an approximate width of 40 cm).
PUNTOS Y TÉCNICAS
cad – cadeneta
BL – sólo por la lazada trasera
pb – punto bajo
MATERIALES
- 100 gr (240 m) de lana tipo Sport en azul. (Yo he usado menos de 1 ovillo de Katia Merino Classic en color 33)
- 50 gr (120 m) de lana tipo Sport en amarillo para los flecos. (Yo he usado un poco de Katia Merino Classic en color 41)
- Aguja de ganchillo de 5,5 mm
INSTRUCCIONES
01. Con la lana azul y la aguja de 5,5 mm, tejer 51 cad (o las necesarias para obtener un largo de 28 cm)
02. 50 pb
03 a 84. 1 cad, 50 pb en BL (o las filas suficientes para obtener un ancho aproximado de 40 cm)
ASSEMBLY
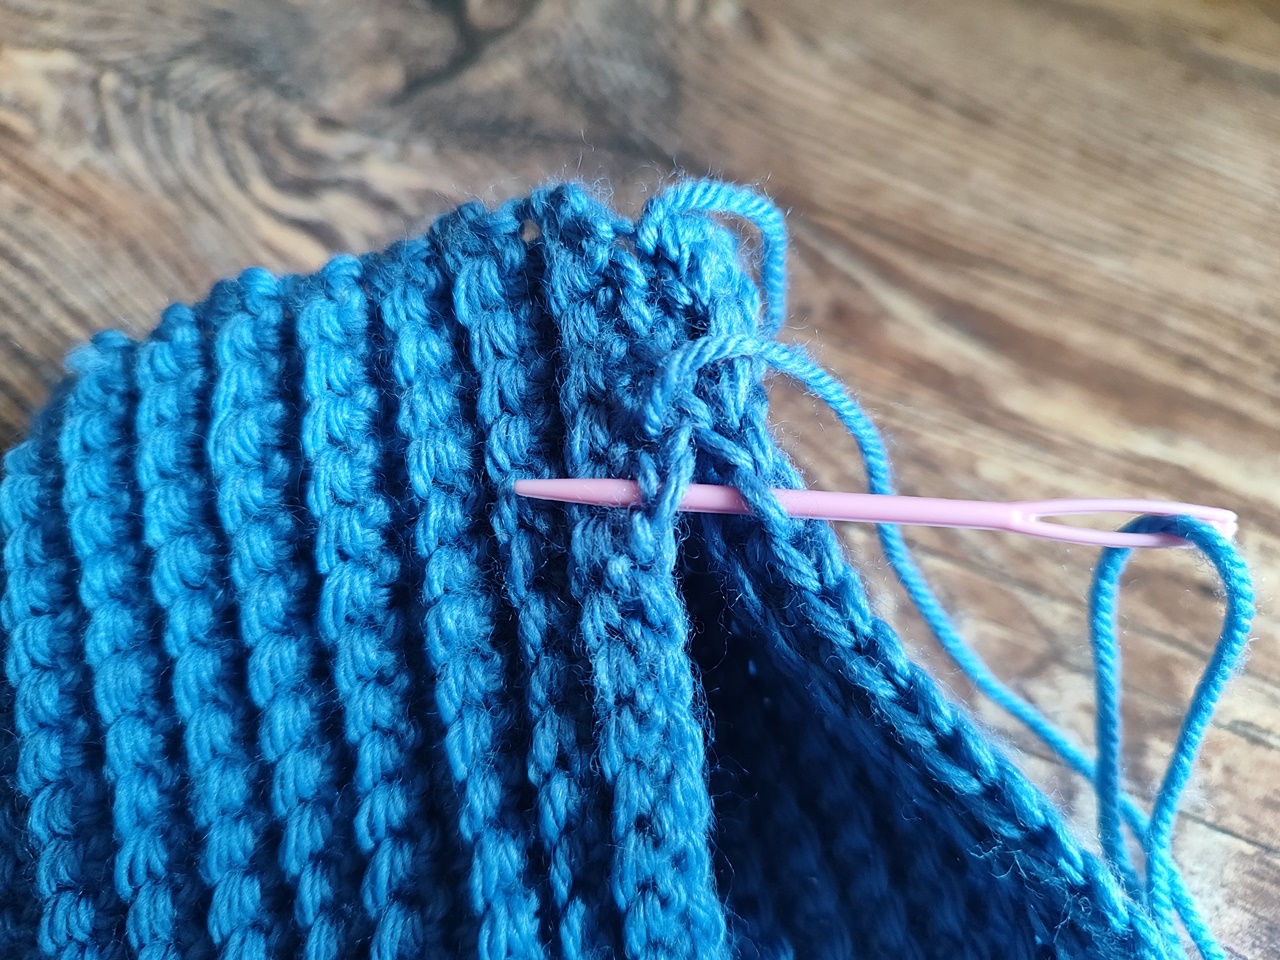
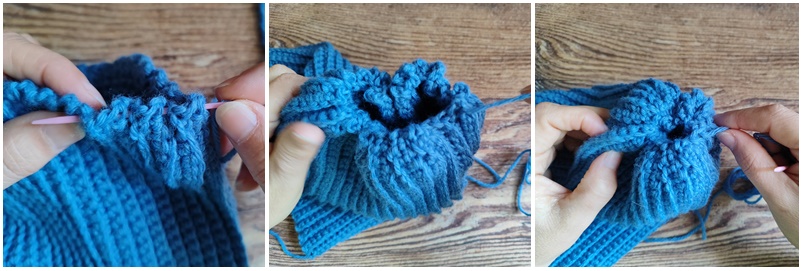
- Fold the piece in half widthwise and sew with the tapestry needle as indicated in the photograph, forming a cylinder of 20 cm.
- Without cutting the yarn, gather one end of the cylinder, passing the needle one row yes, one row no. When you reach the end, pull the yarn to close the circle and create the gathering, and secure it well, finishing closing any remaining gap.
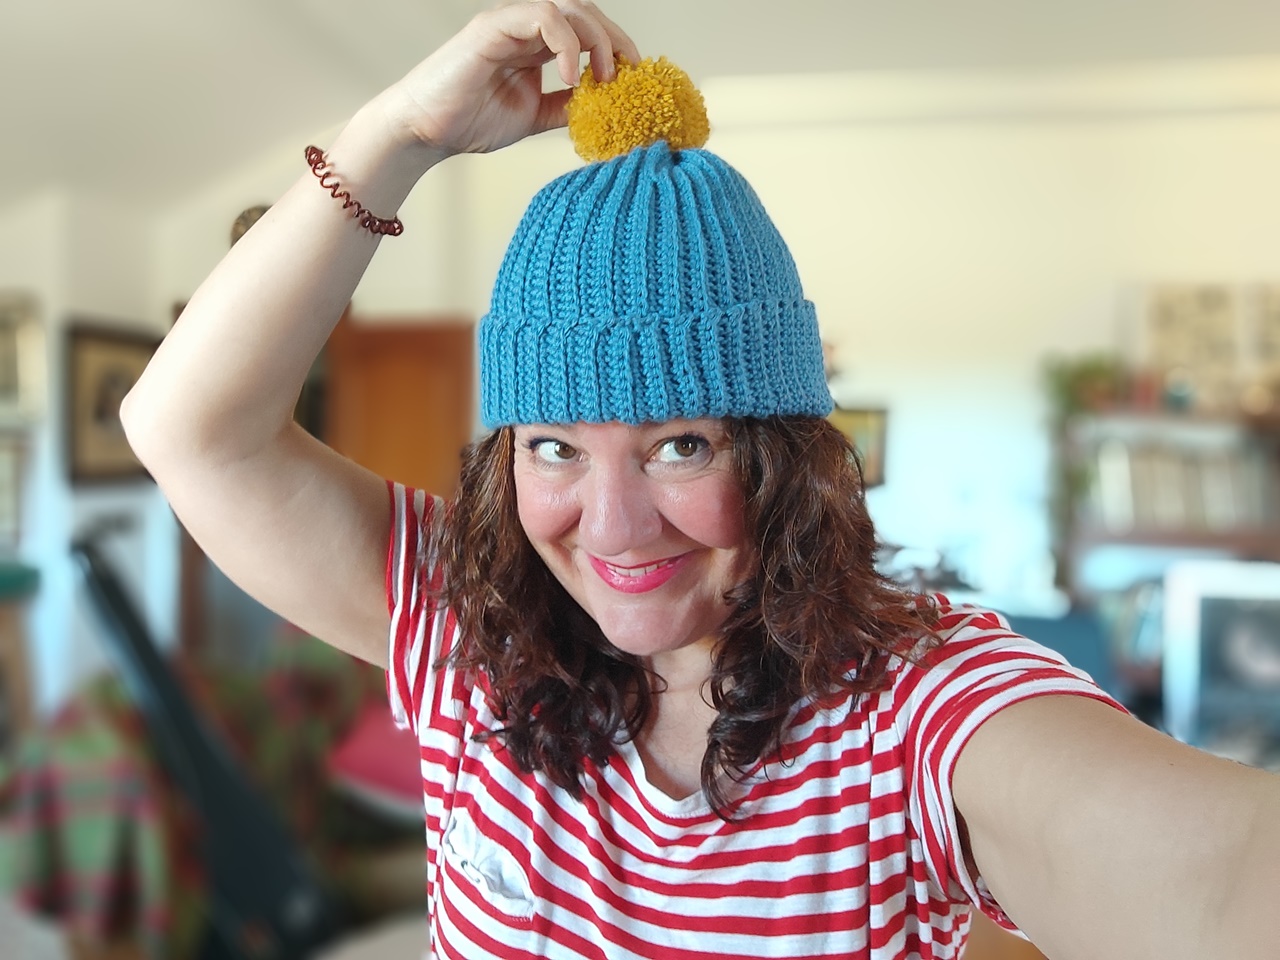
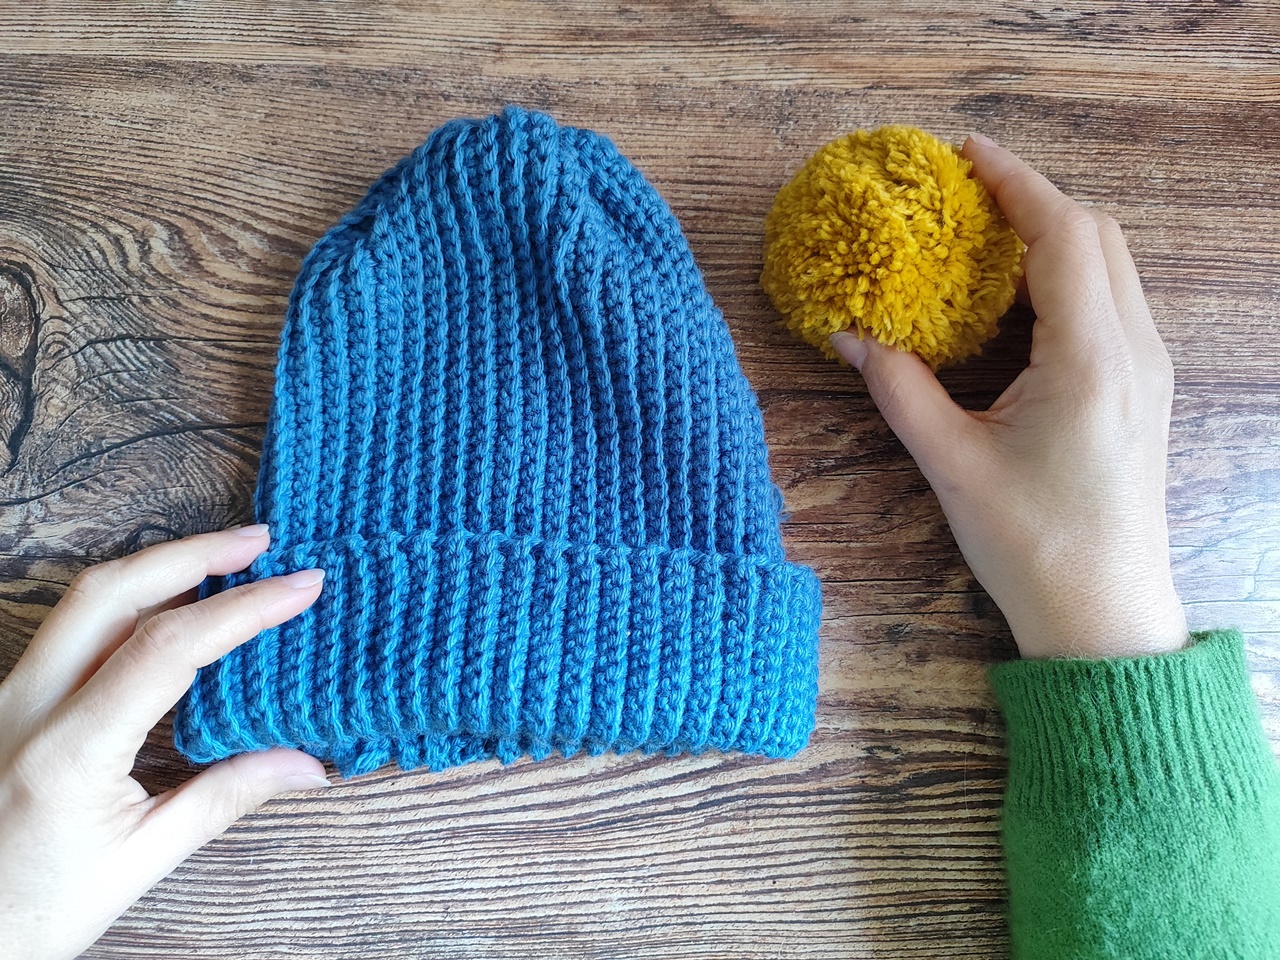
- Make a pompom with the yellow yarn and place it in the center of the gathering.
MONTAJE
- Doblar la pieza por la mitad a lo ancho, y coser con la aguja lanera tal y como se indica en la fotografía, formando un cilindro de 20 cm.
- Sin cortar el hilo, fruncir uno de los extremos del cilindro, pasando la aguja la aguja lanera una fila sí, una no. Al llegar al final, tirar del hilo cerrando el círculo y creando el fruncido y rematar bien, terminando de cerrar el hueco que pudiera haber quedado.
- Hacer un pompón con la lana amarilla y colocarlo en el centro. del fruncido.
VARIATIONS
You can add a pompom to your hat or not. You can even make it with interchangeable pompoms.
Try alternating two colors every two rows. You don’t need to cut the yarn after each change; just keep it and retrieve it when needed. That end will be hidden when you make the gathering at the top.
Try different materials. You’ll just have to crochet a sample to calculate the stitches you need to reach the final rectangle measurements.
You can also change colors by creating horizontal stripes using the intarsia crochet technique.
VARIACIONES
- Puedes añadirle a tu gorro un pompón o no, Incluso puedes hacerlo con pompones intercambiables.
- Prueba a alternar dos colores, cada dos filas. No es necesario que cortes el hilo tras cada cambio, simplemente mantenlo y recupéralo cuando lo necesites. Ese extremo quedará escondido cuando hagas el fruncido de arriba.
- Prueba con distintos materiales. Simplemente tendrás que tejer una muestra para calcular los puntos que necesitas para llegar a las medidas finales de rectángulo.
- También puedes cambiar de color creando rayas horizontales utilizando la técnica de intarsia para ganchillo.